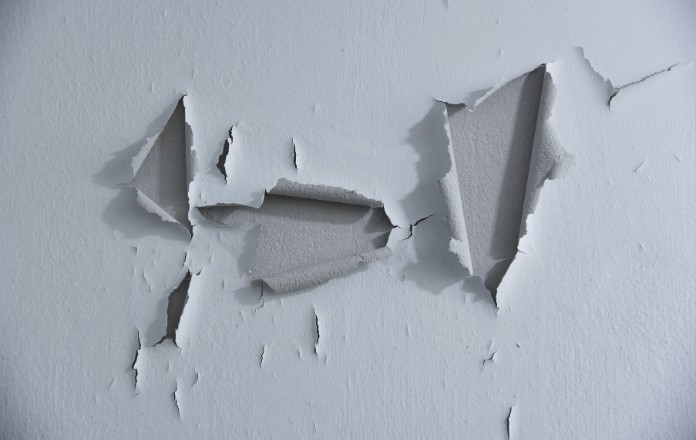
Paint peeling off the wall can be an eyesore — but it's a problem you can fix. This guide will help you identify the causes of flaking paint, walk you through the steps to repair it, and share tips on how to prevent it from happening again.
What Causes Paint to Peel
Understanding why paint peels in the first place helps you fix the problem properly and stop it from recurring.
Dryness
Environmental factors like intense sunlight and high temperatures can cause excessive dryness on the wall surface, drawing out moisture and causing paint to dry out too quickly. Over time, this makes the paint brittle and prone to cracking and peeling — a particular concern in Singapore's west-facing rooms that receive strong afternoon sun.
Expired Paint
Paint components degrade over time, weakening adhesion properties. Old or expired paint may not bond properly to a surface, resulting in blotchiness or flaking even shortly after application.
Improper Surface Preparation
If a surface wasn't properly cleaned and primed before painting, the paint has nothing solid to grip. Poor prep is one of the most common — and most avoidable — causes of peeling paint.
Layering Incompatible Paint Types
Different paint formulations don't always play well together. Applying a latex-based paint directly over an oil-based one (or vice versa) without the right preparation can cause delamination and flaking due to the differing chemical properties of each type.
Moisture
Leaks, high humidity, and condensation are among the most damaging forces a paint job can face. When moisture seeps into the wall, it weakens the bond between the paint and the surface — causing the paint to gradually loosen and peel. In Singapore's humid climate, this is an especially common culprit.
Using the Wrong Paint
Not all paints are formulated for all surfaces. Wood surfaces rich in natural oils, for example, can form a barrier that prevents paint from bonding correctly. Always use a paint specifically designed for the surface you're painting.
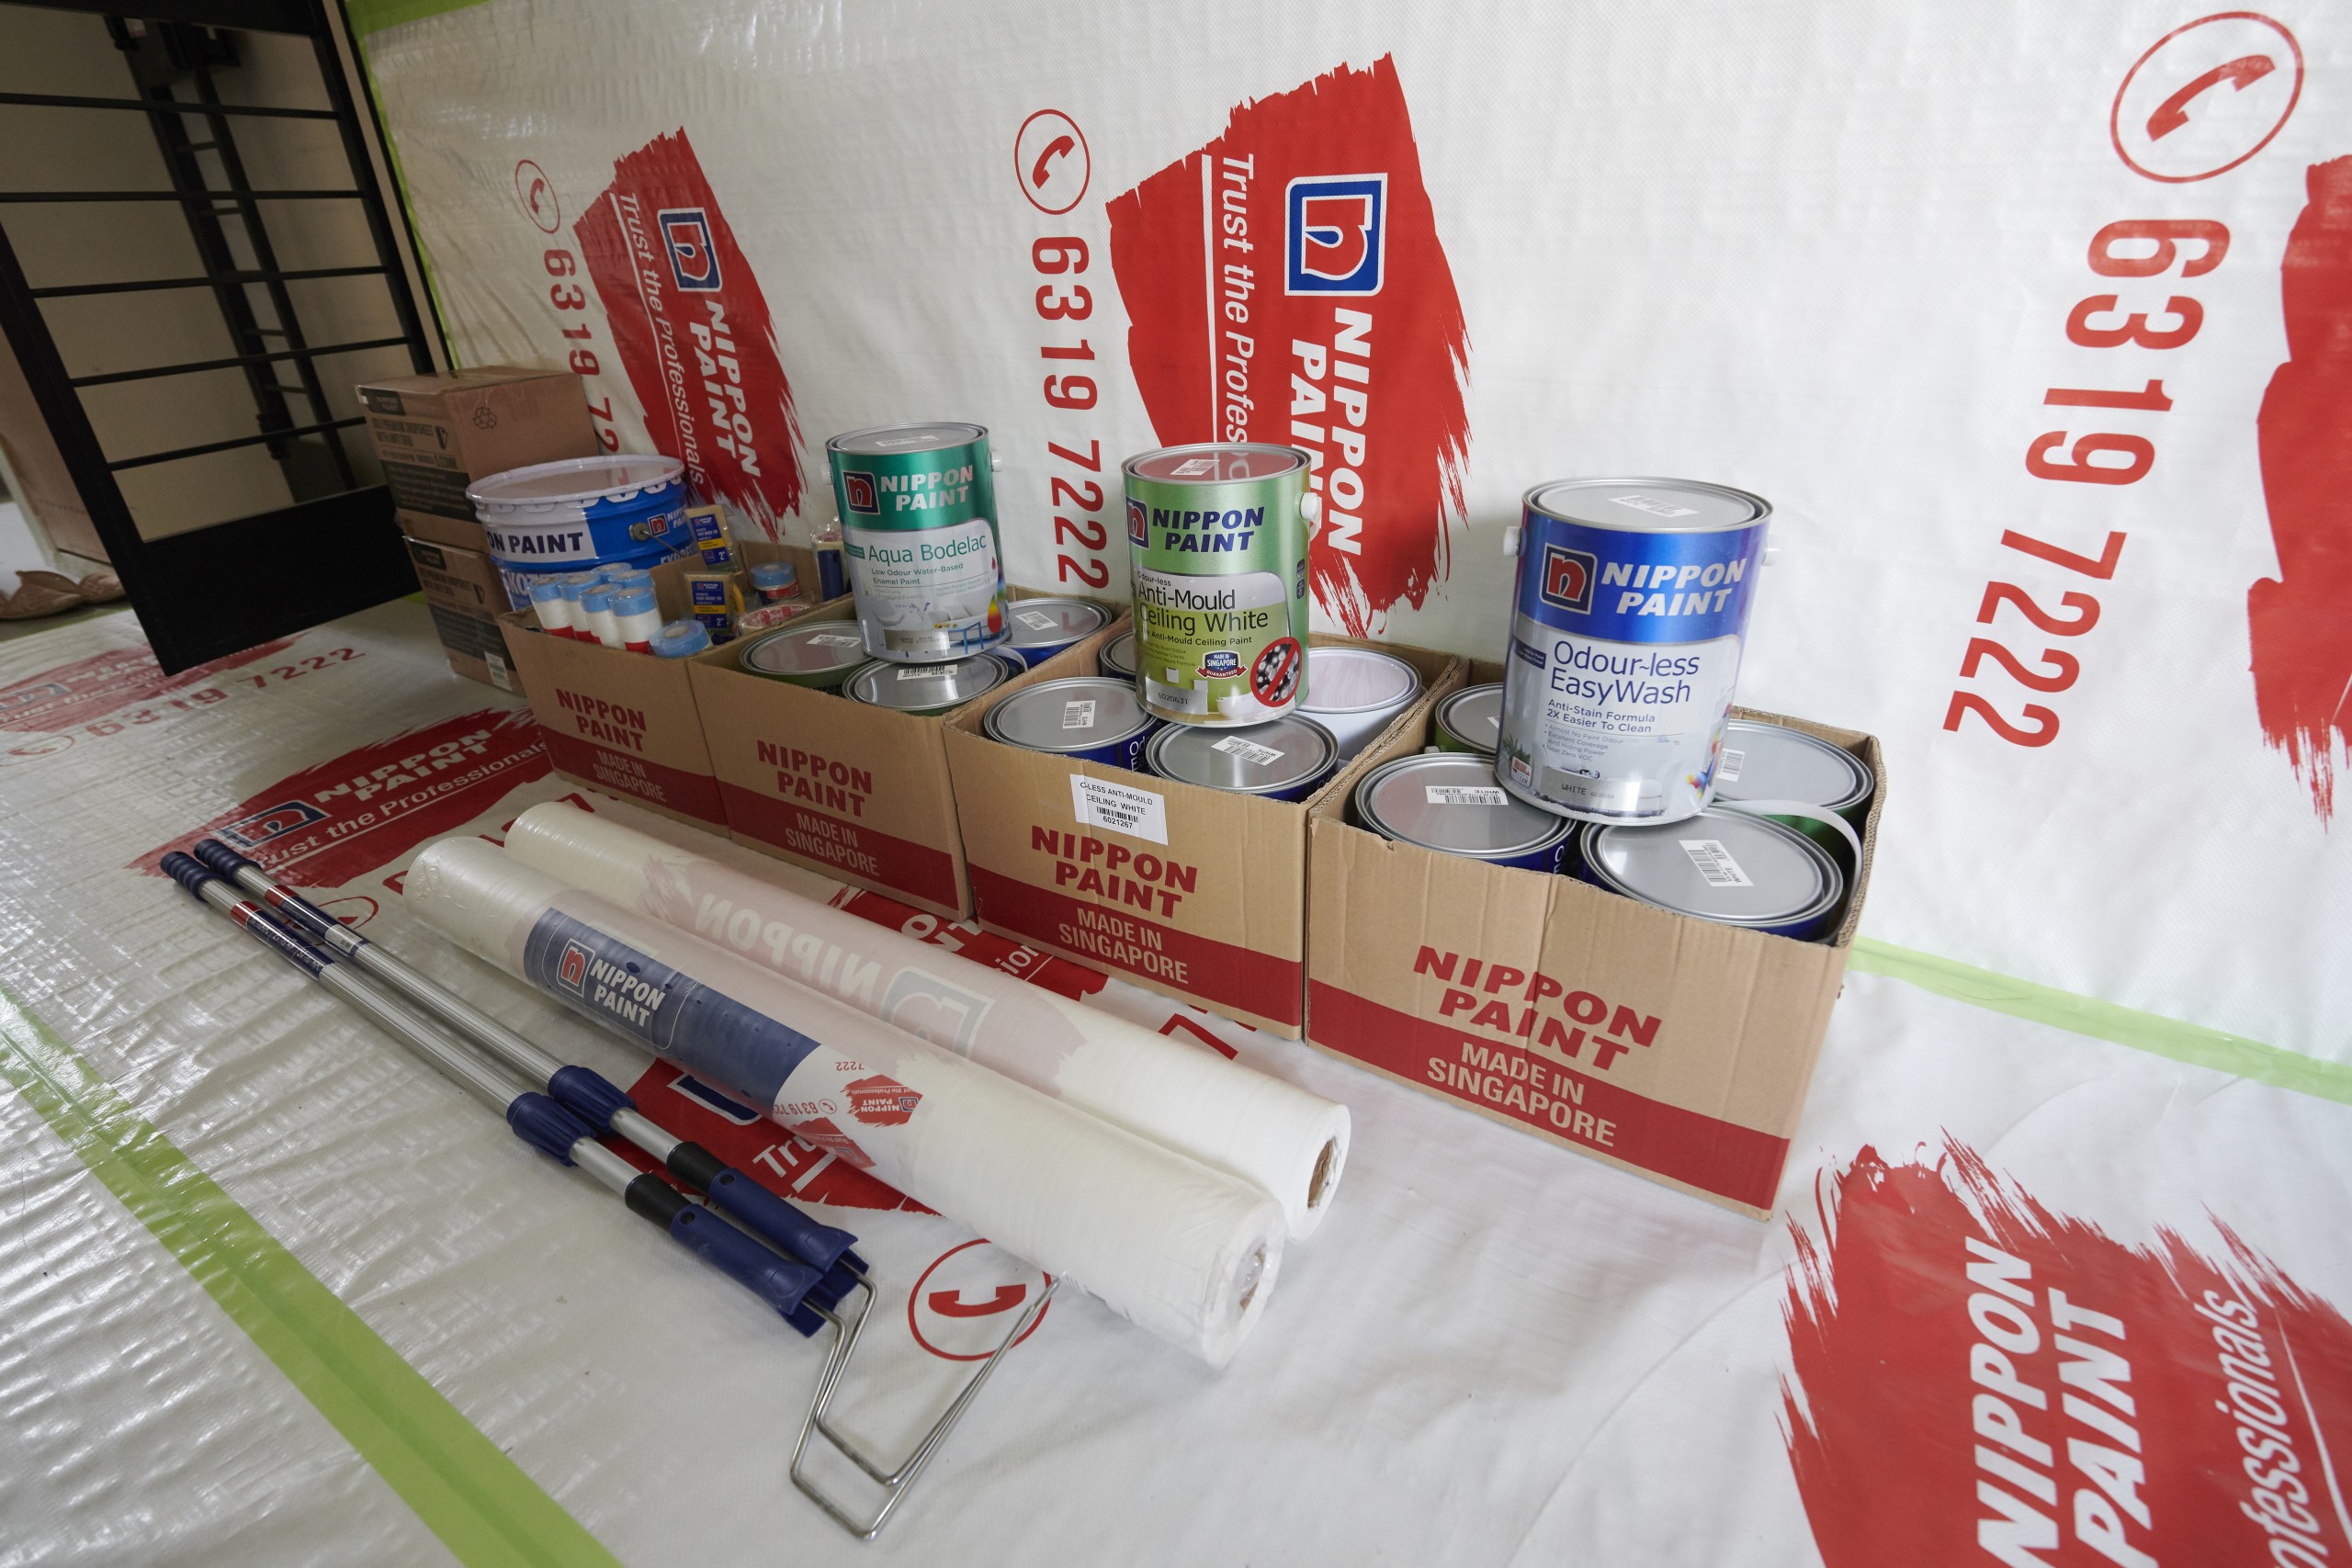
What You'll Need
Before you begin, gather the following:
- Damp cloth and microfibre cloth
- Dropsheets
- Paint brush or paint roller
- Paint scraper
- Painter’s tape
- Personal protective gear (gloves, safety glasses, mask)
- Primer / sealer
- Paint
- Putty knife
- Sandpaper
- Wall putty
Important — Check for Lead Paint First Before attempting any repair, determine whether your walls contain lead-based paint. Lead paint was commonly used in buildings constructed before 1978. If your home predates this year, purchase a lead test kit from a hardware store or engage a certified contractor to test the surface. If lead is detected, do not attempt removal yourself — engage a professional experienced in safe lead paint handling.
How to Fix Flaking Paint: Step by Step
Step 1: Prepare the work area
Put on your protective gear — gloves, safety glasses, and a mask. Open windows and doors to ensure adequate ventilation throughout the repair process.
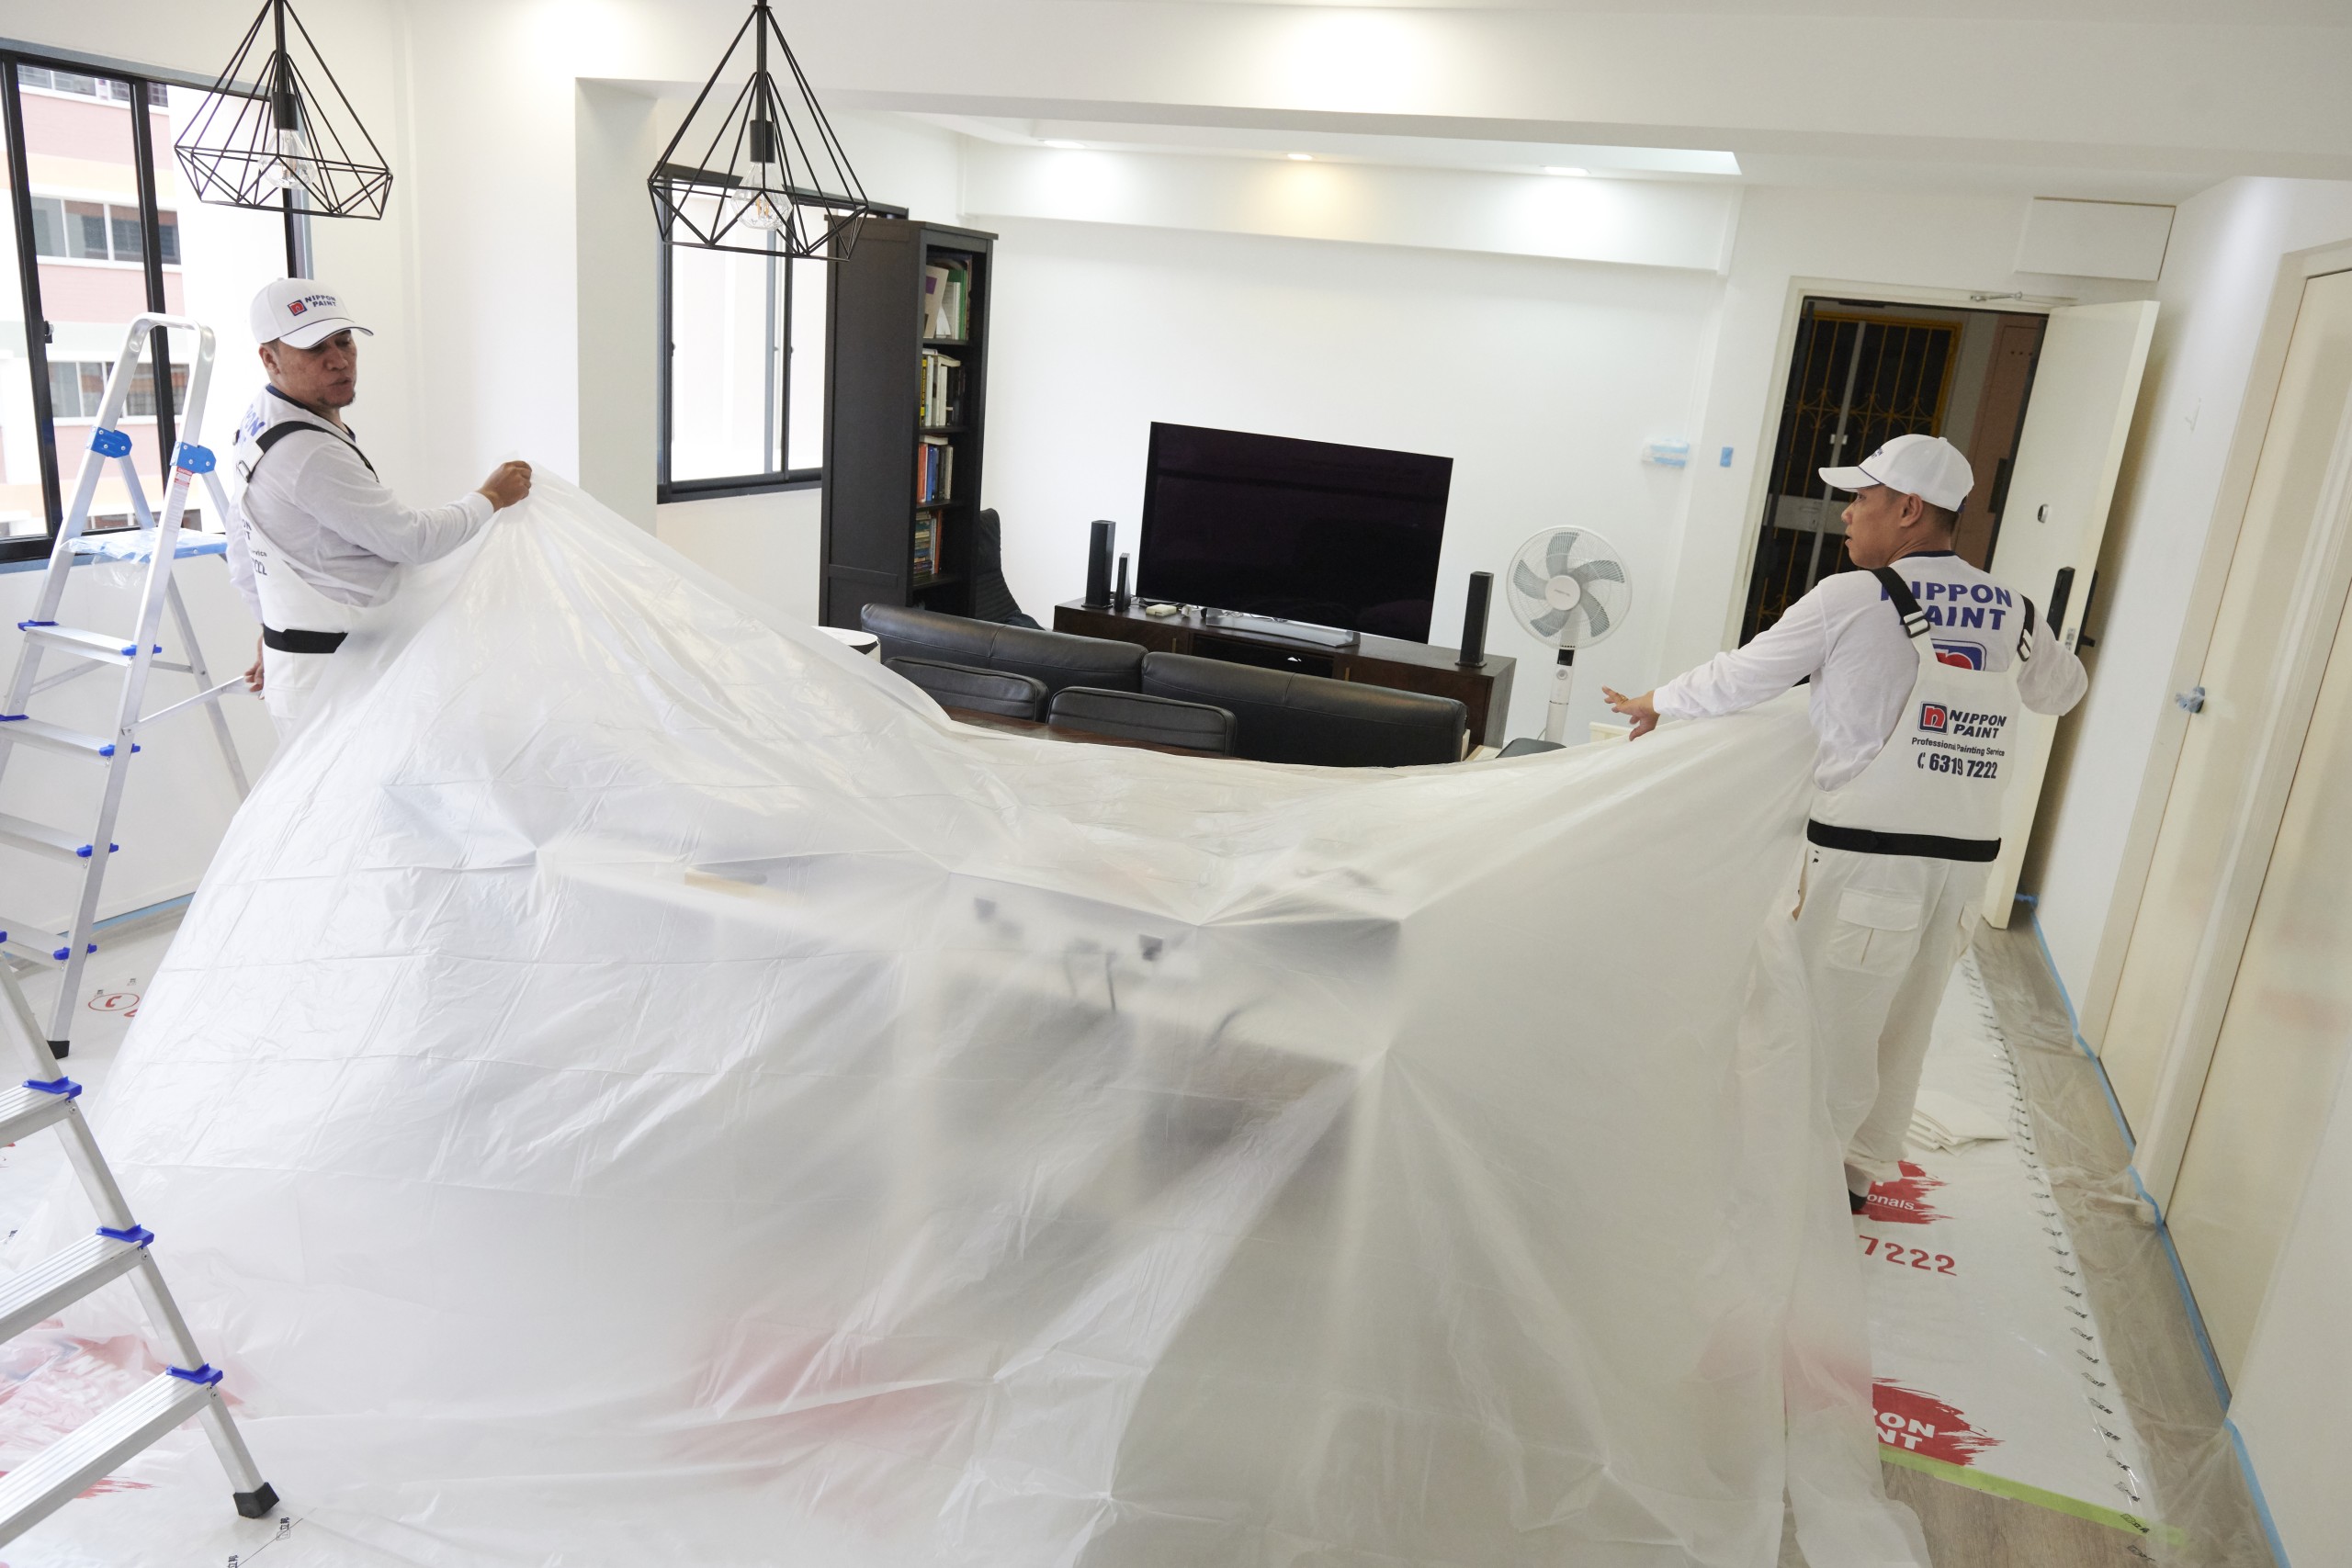
Clear the area of furniture, rugs, and other items, and cover anything that can't be moved with drop sheets. Protect the floor with another drop sheet to catch falling paint chips.
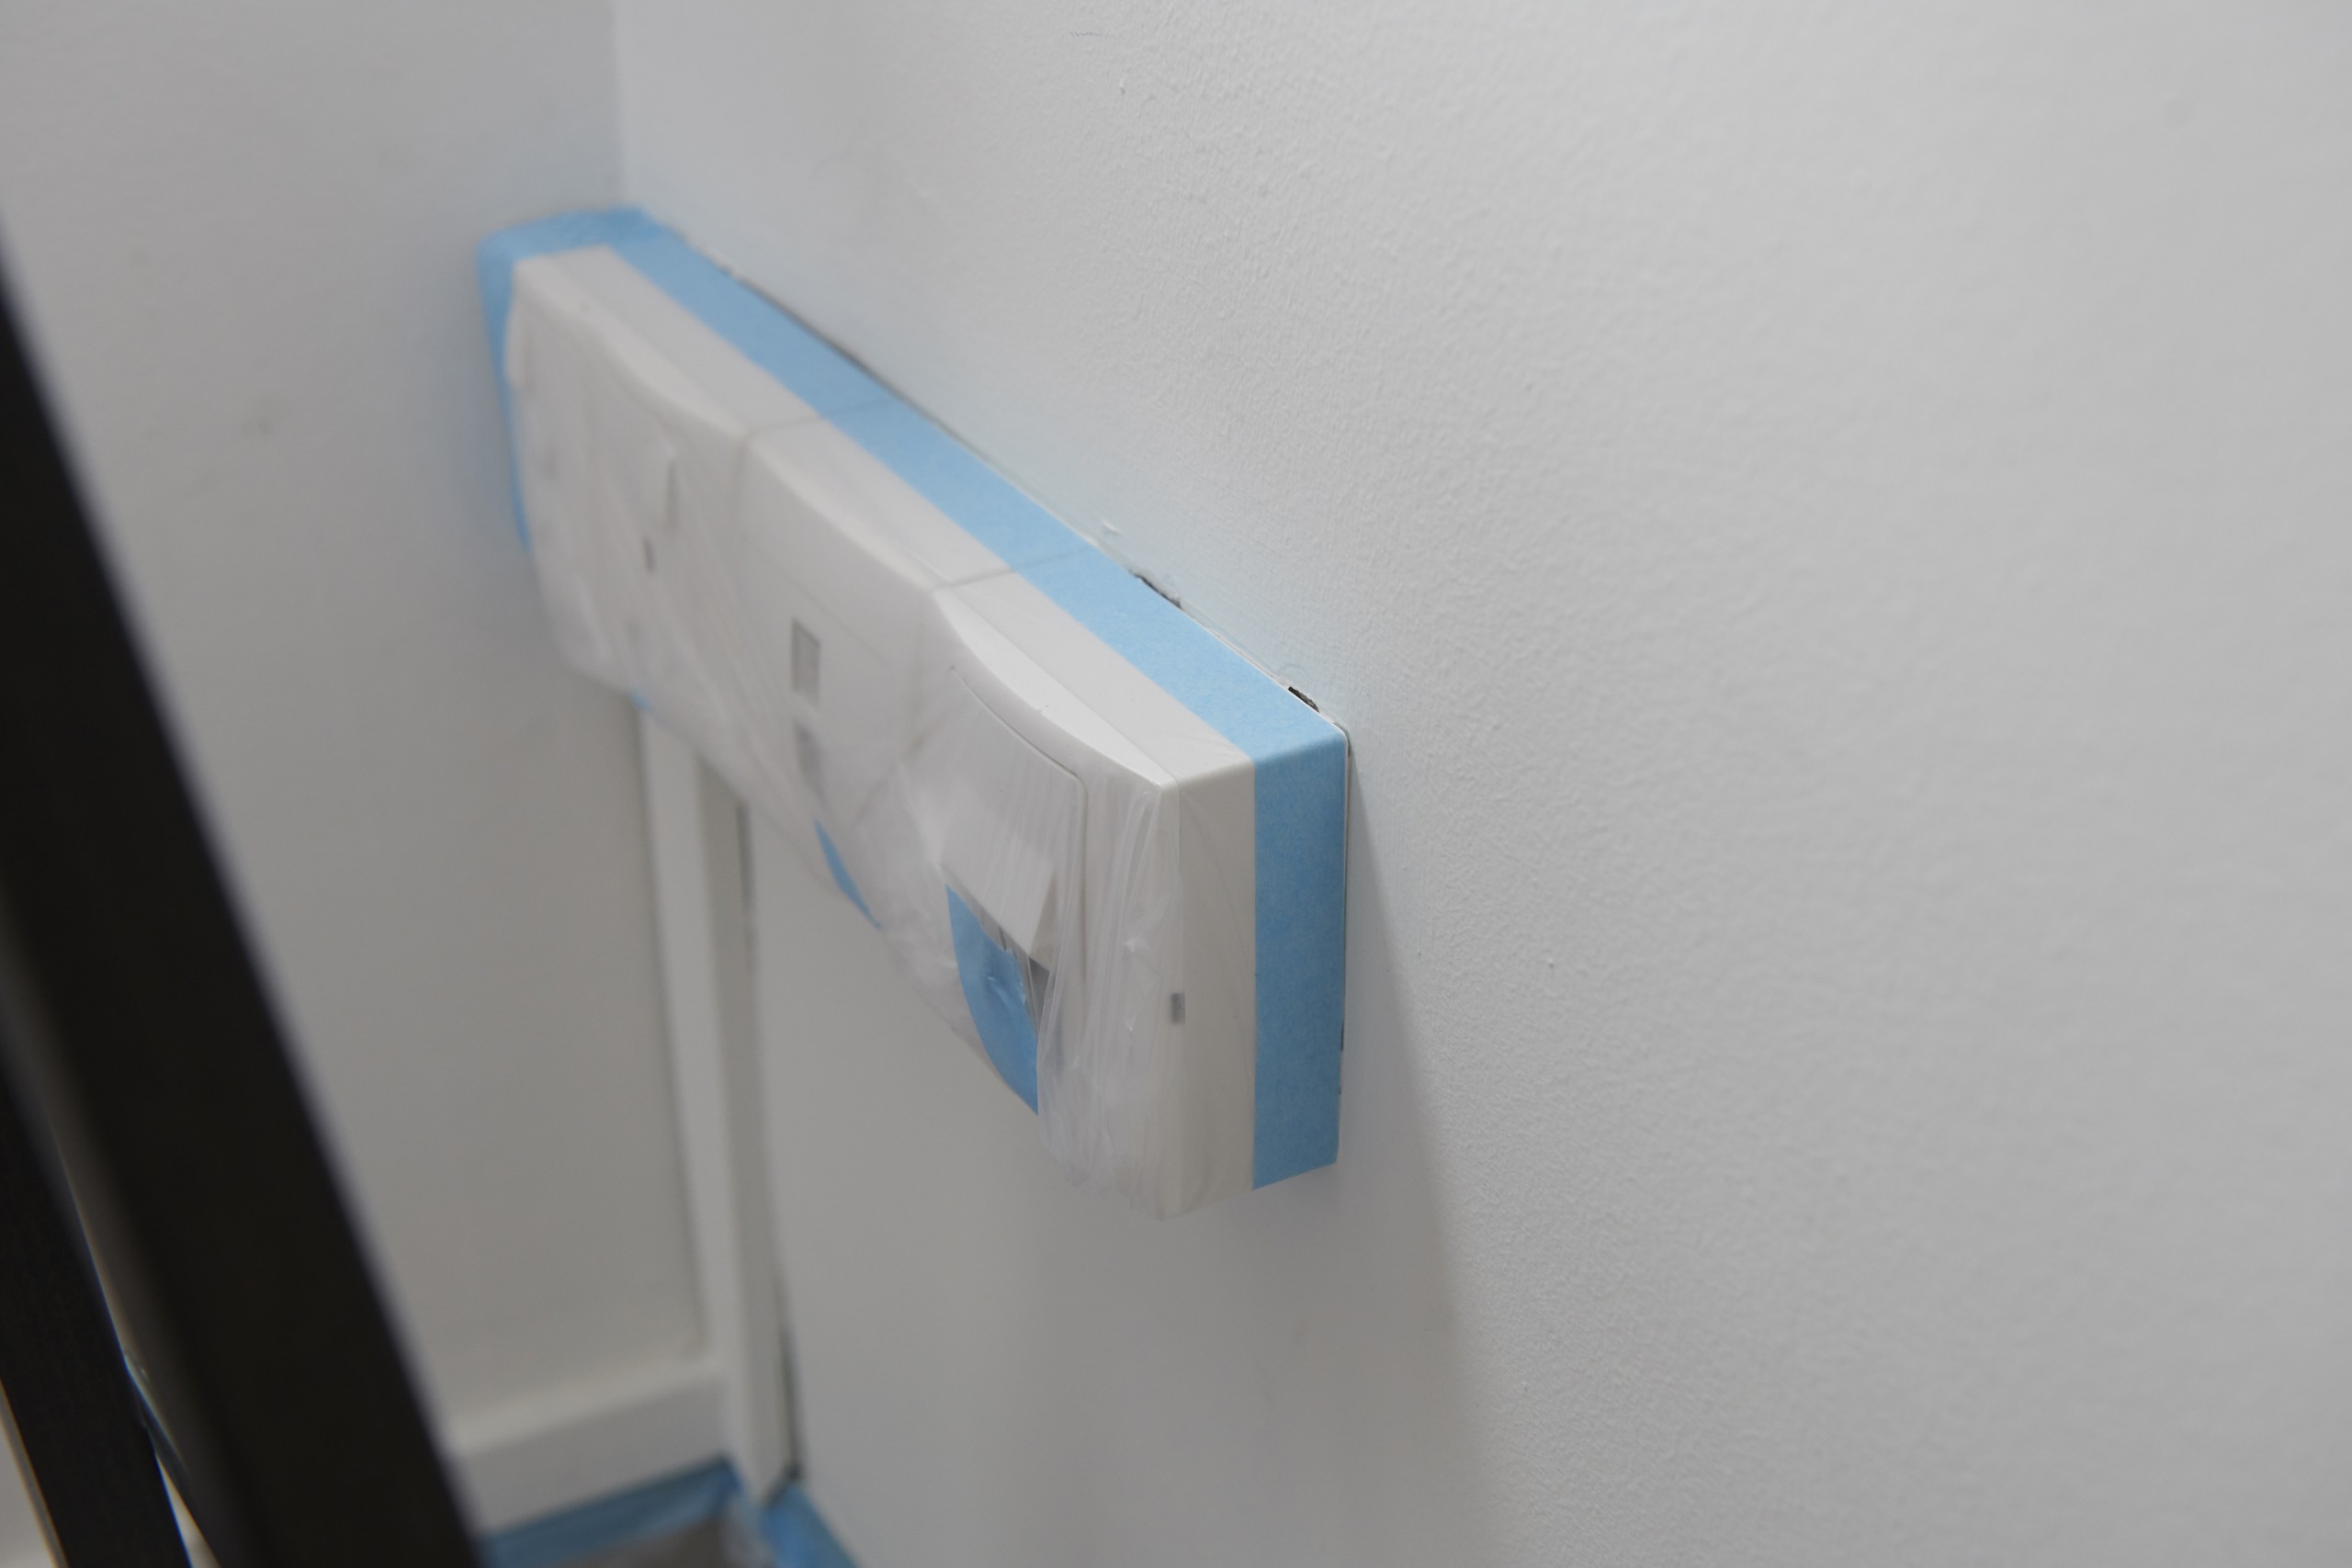
Use painter's tape to mask off sockets, light switches, and any trim you don't want painted.
Step 2: Remove the peeling paint
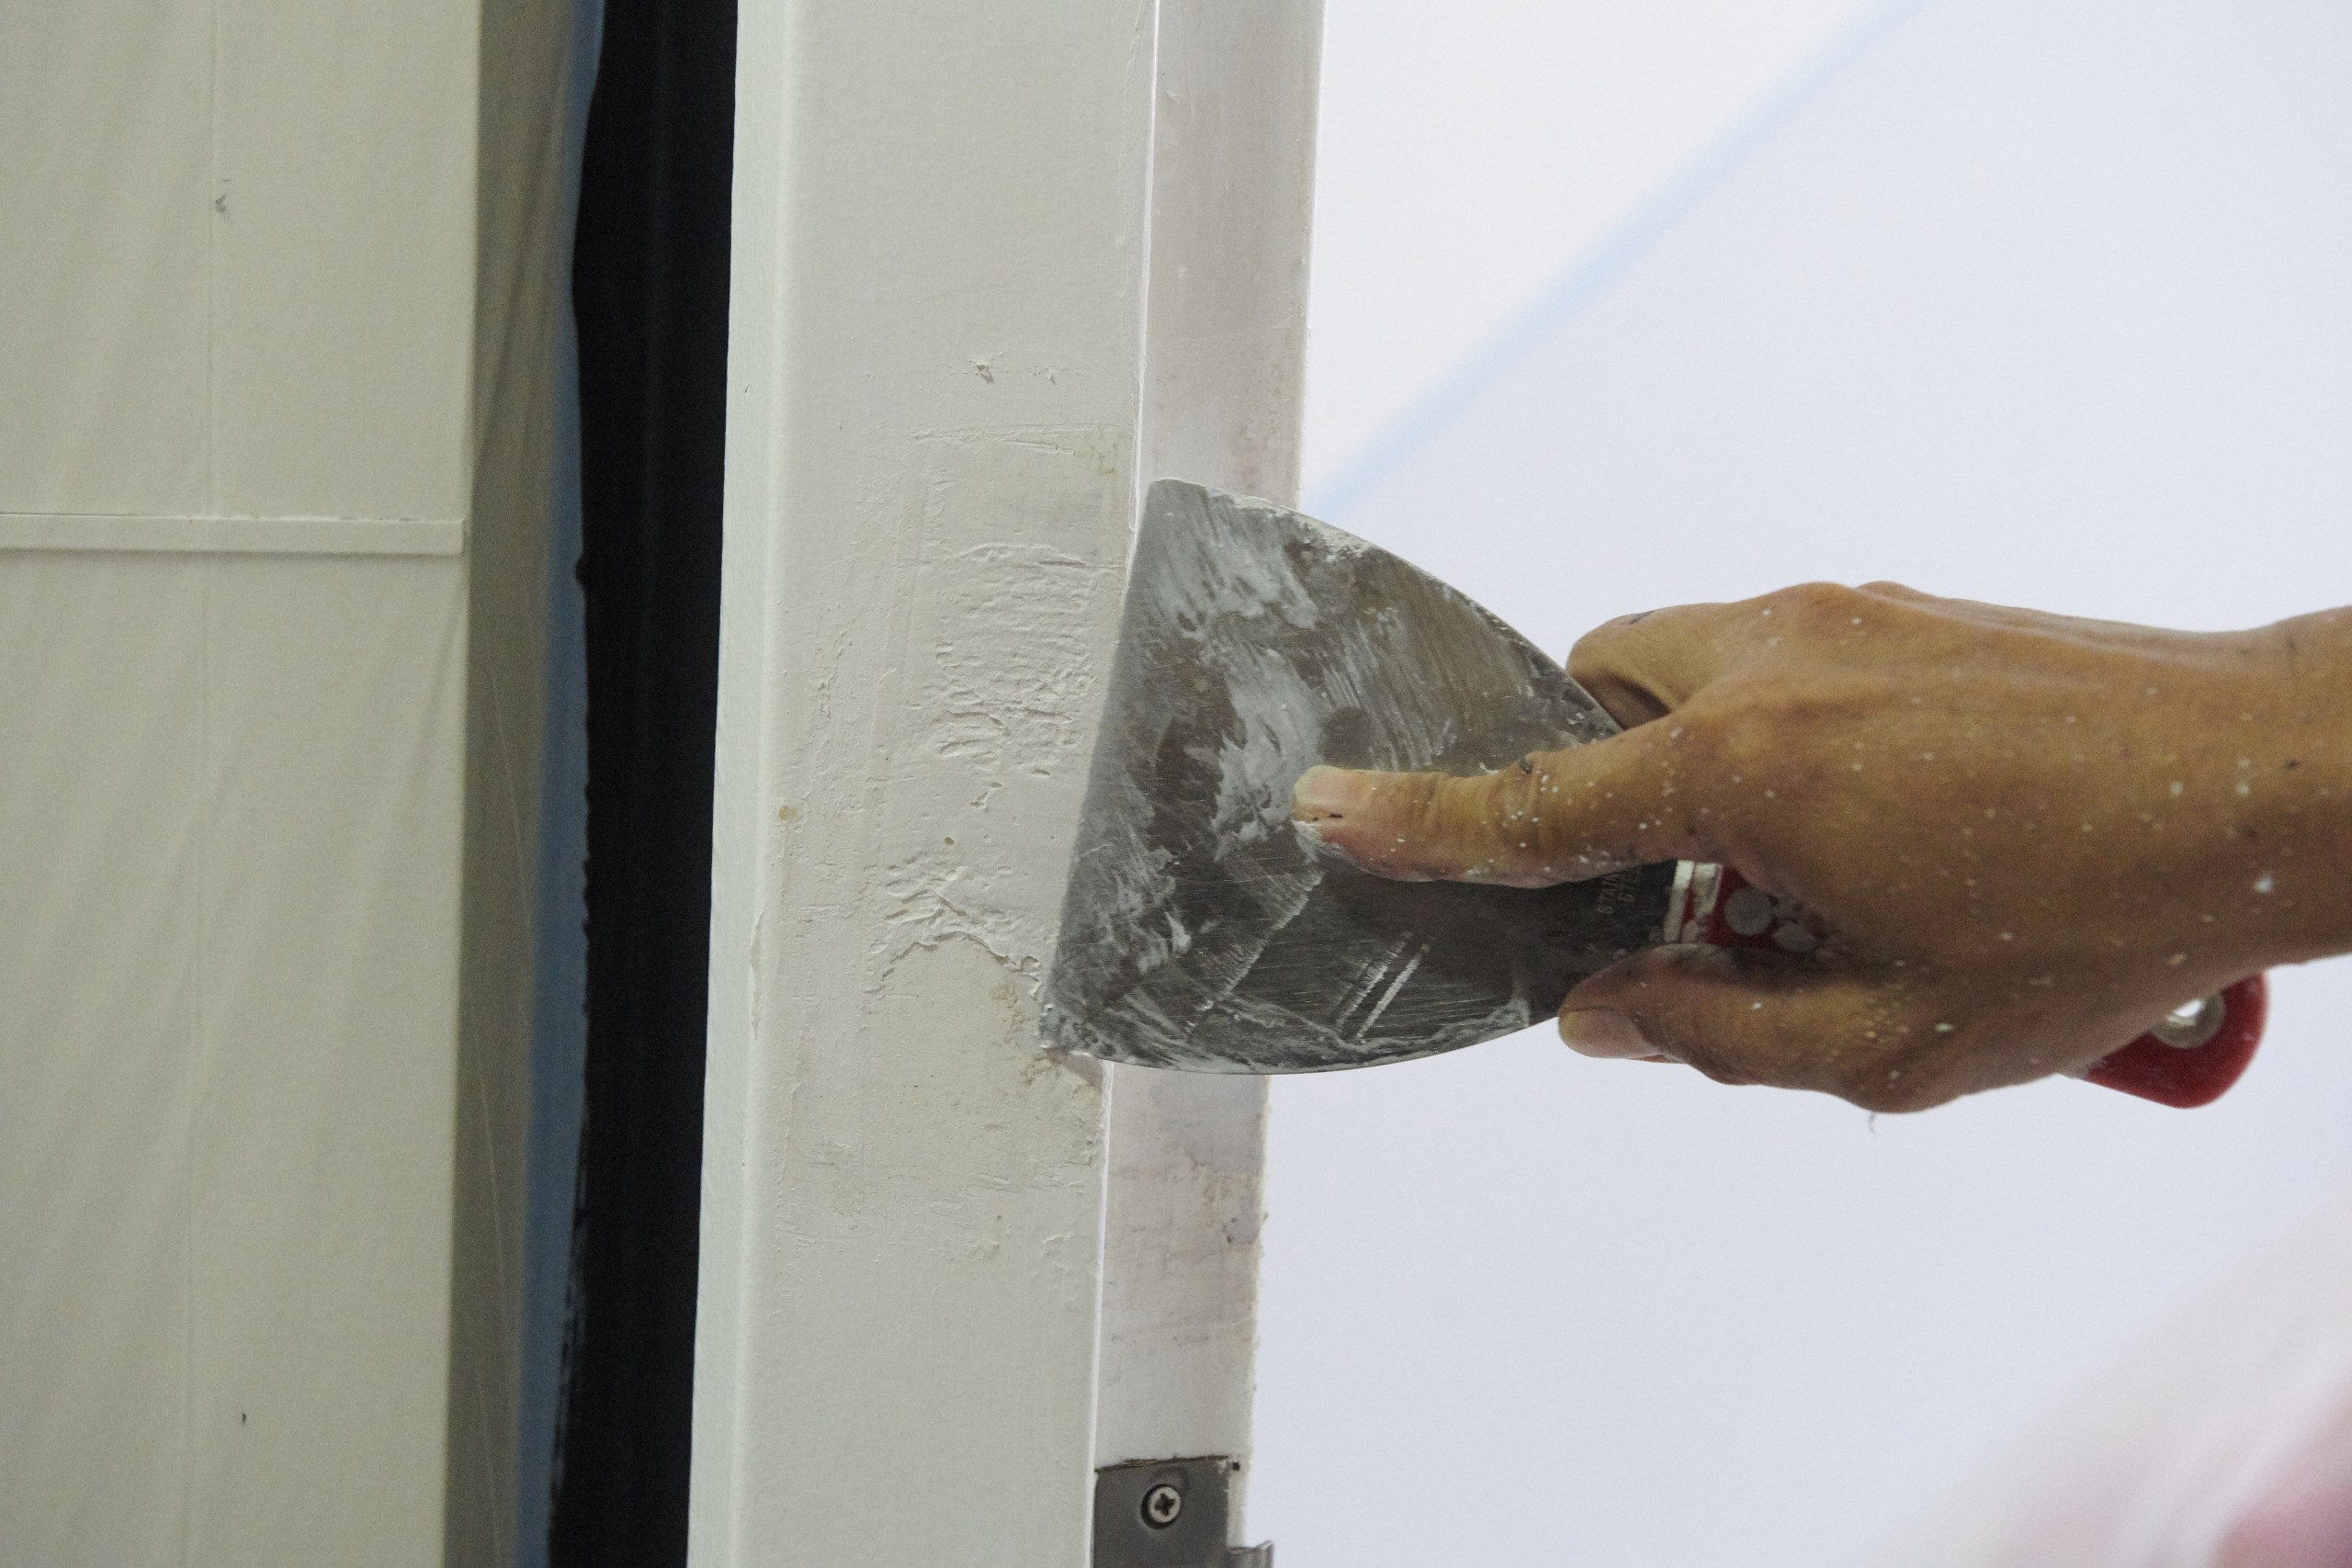
Using a paint scraper, carefully remove all loose and flaking paint. Work gently — applying too much pressure can damage the underlying wall surface and create additional repairs.
Step 3: Repair any holes or cracks
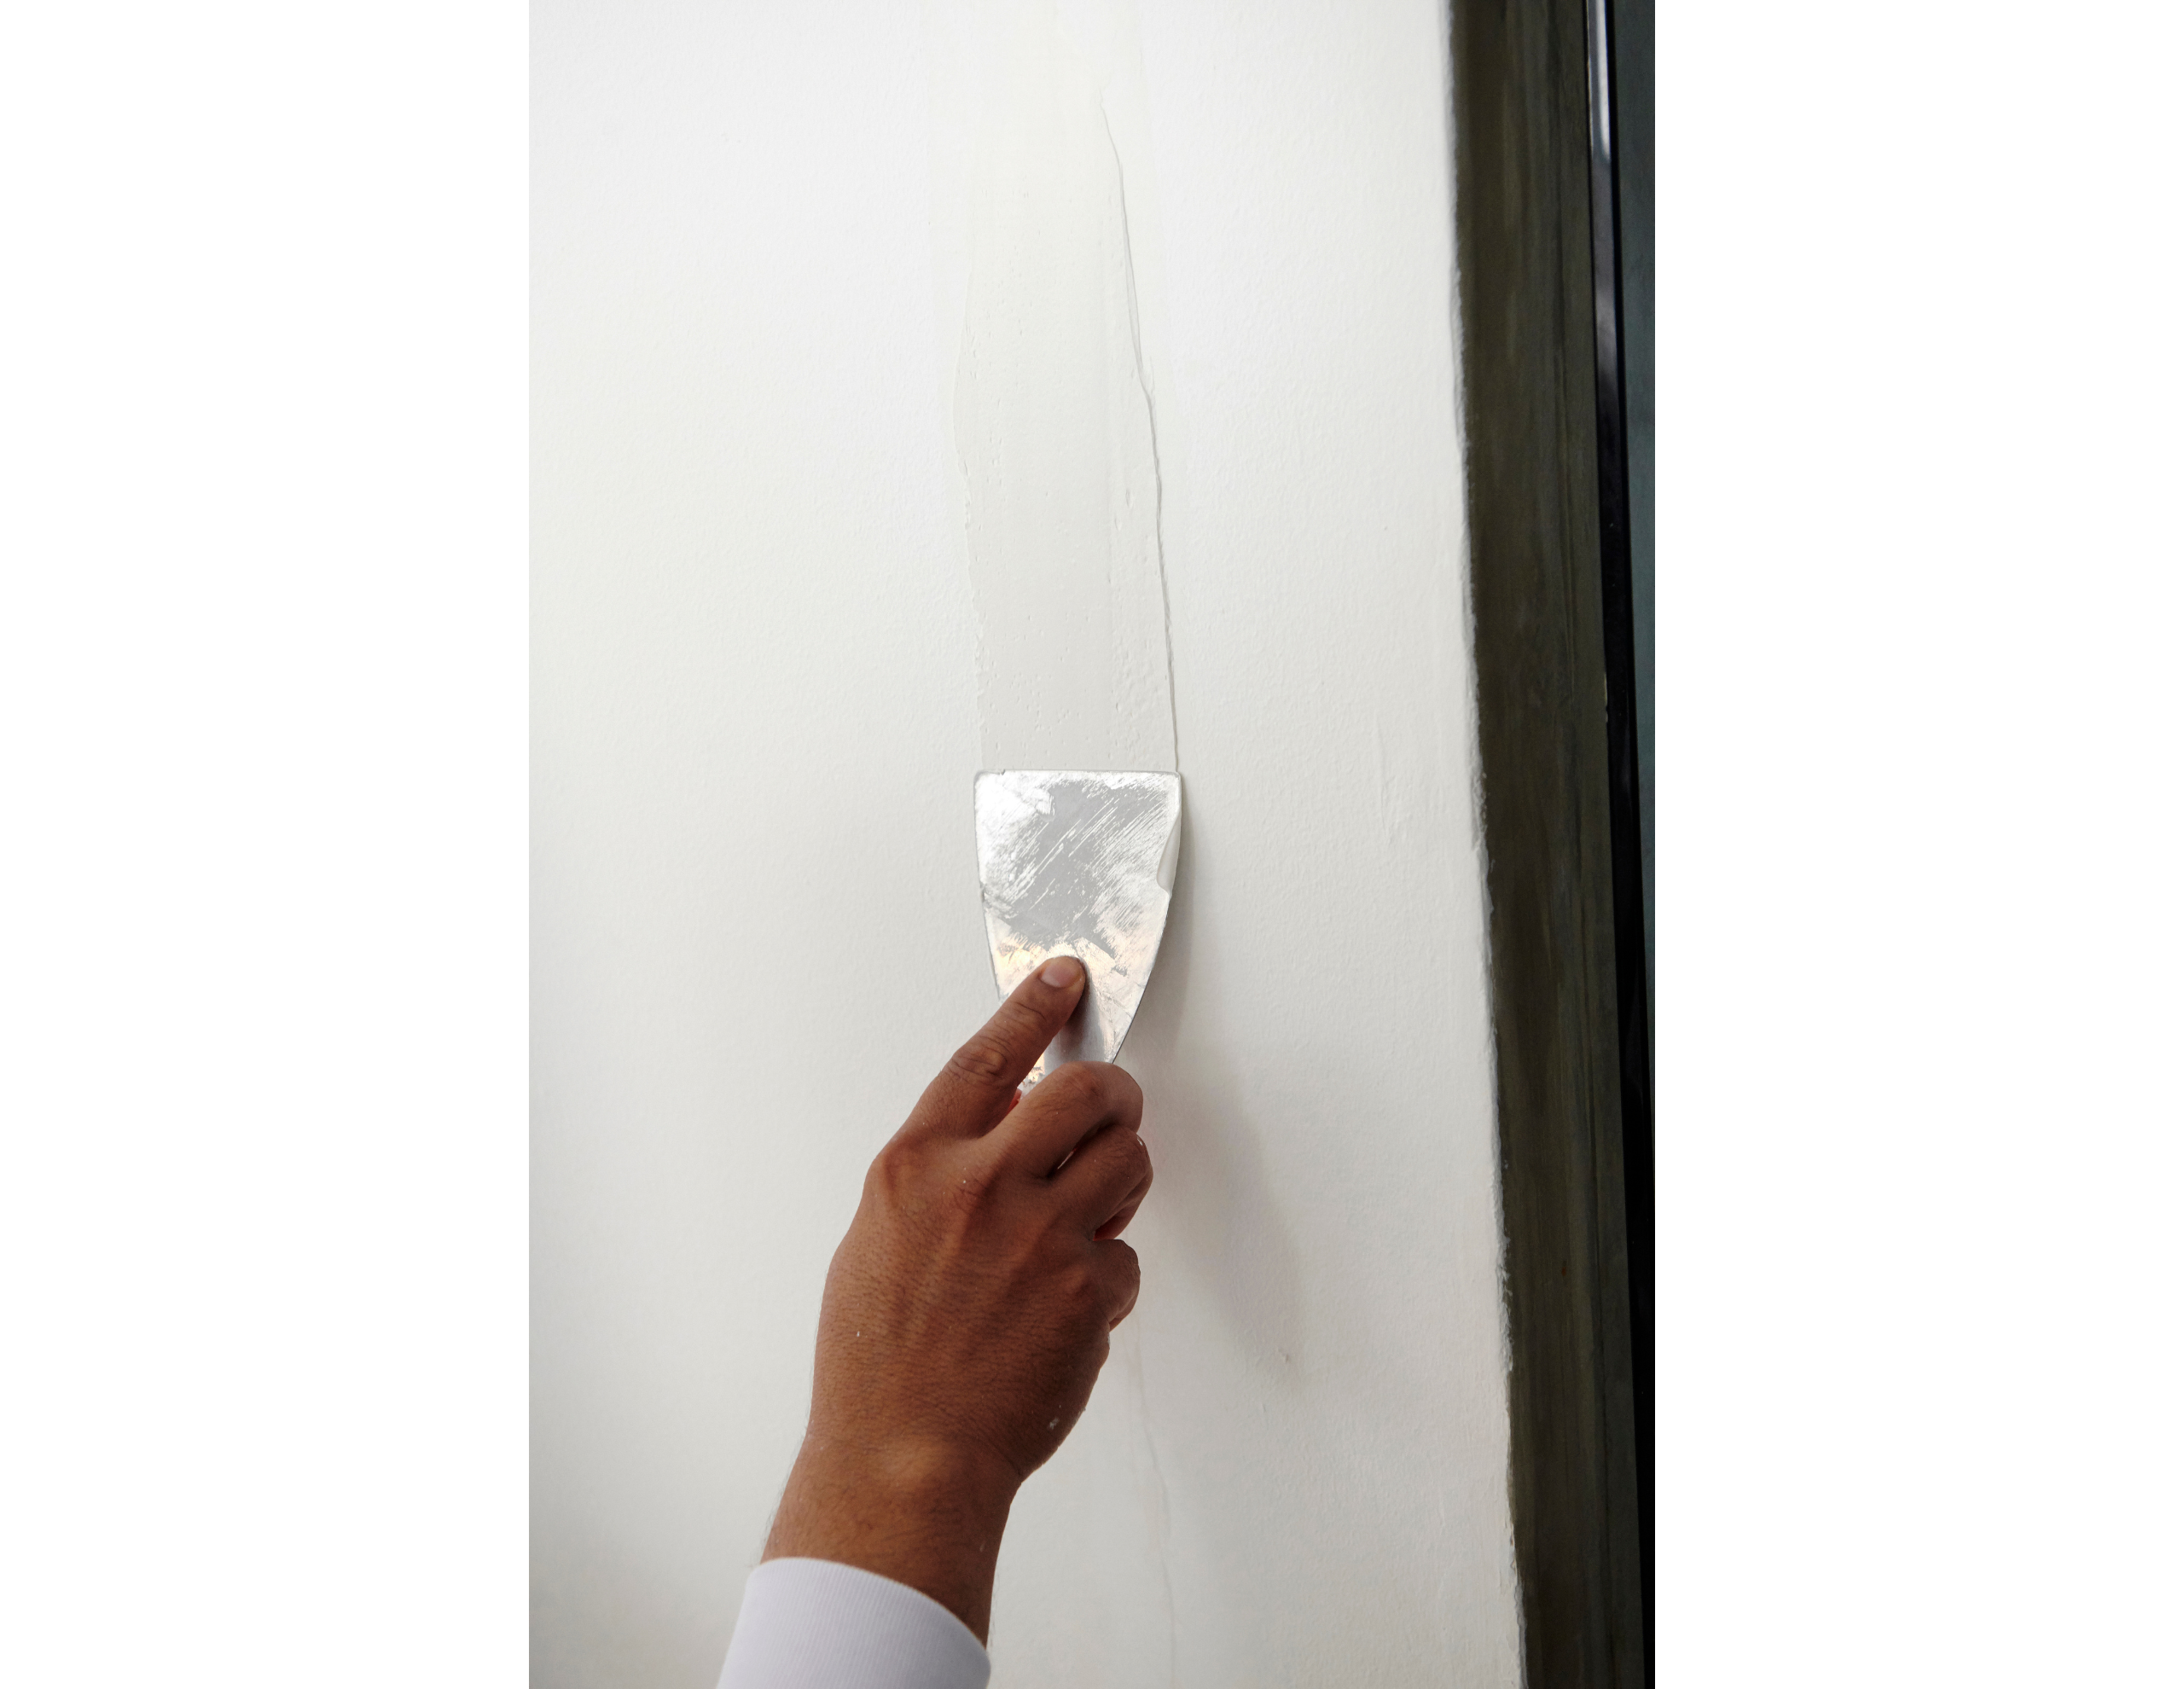
Any damage to the wall surface will show through your new paint job. You should fix the cracks and holes before applying a new layer of paint. Using a putty knife, fill holes or cracks completely with wall putty, smoothing it flush with the surrounding wall. Allow it to dry completely before proceeding.
Step 4: Sand the surface
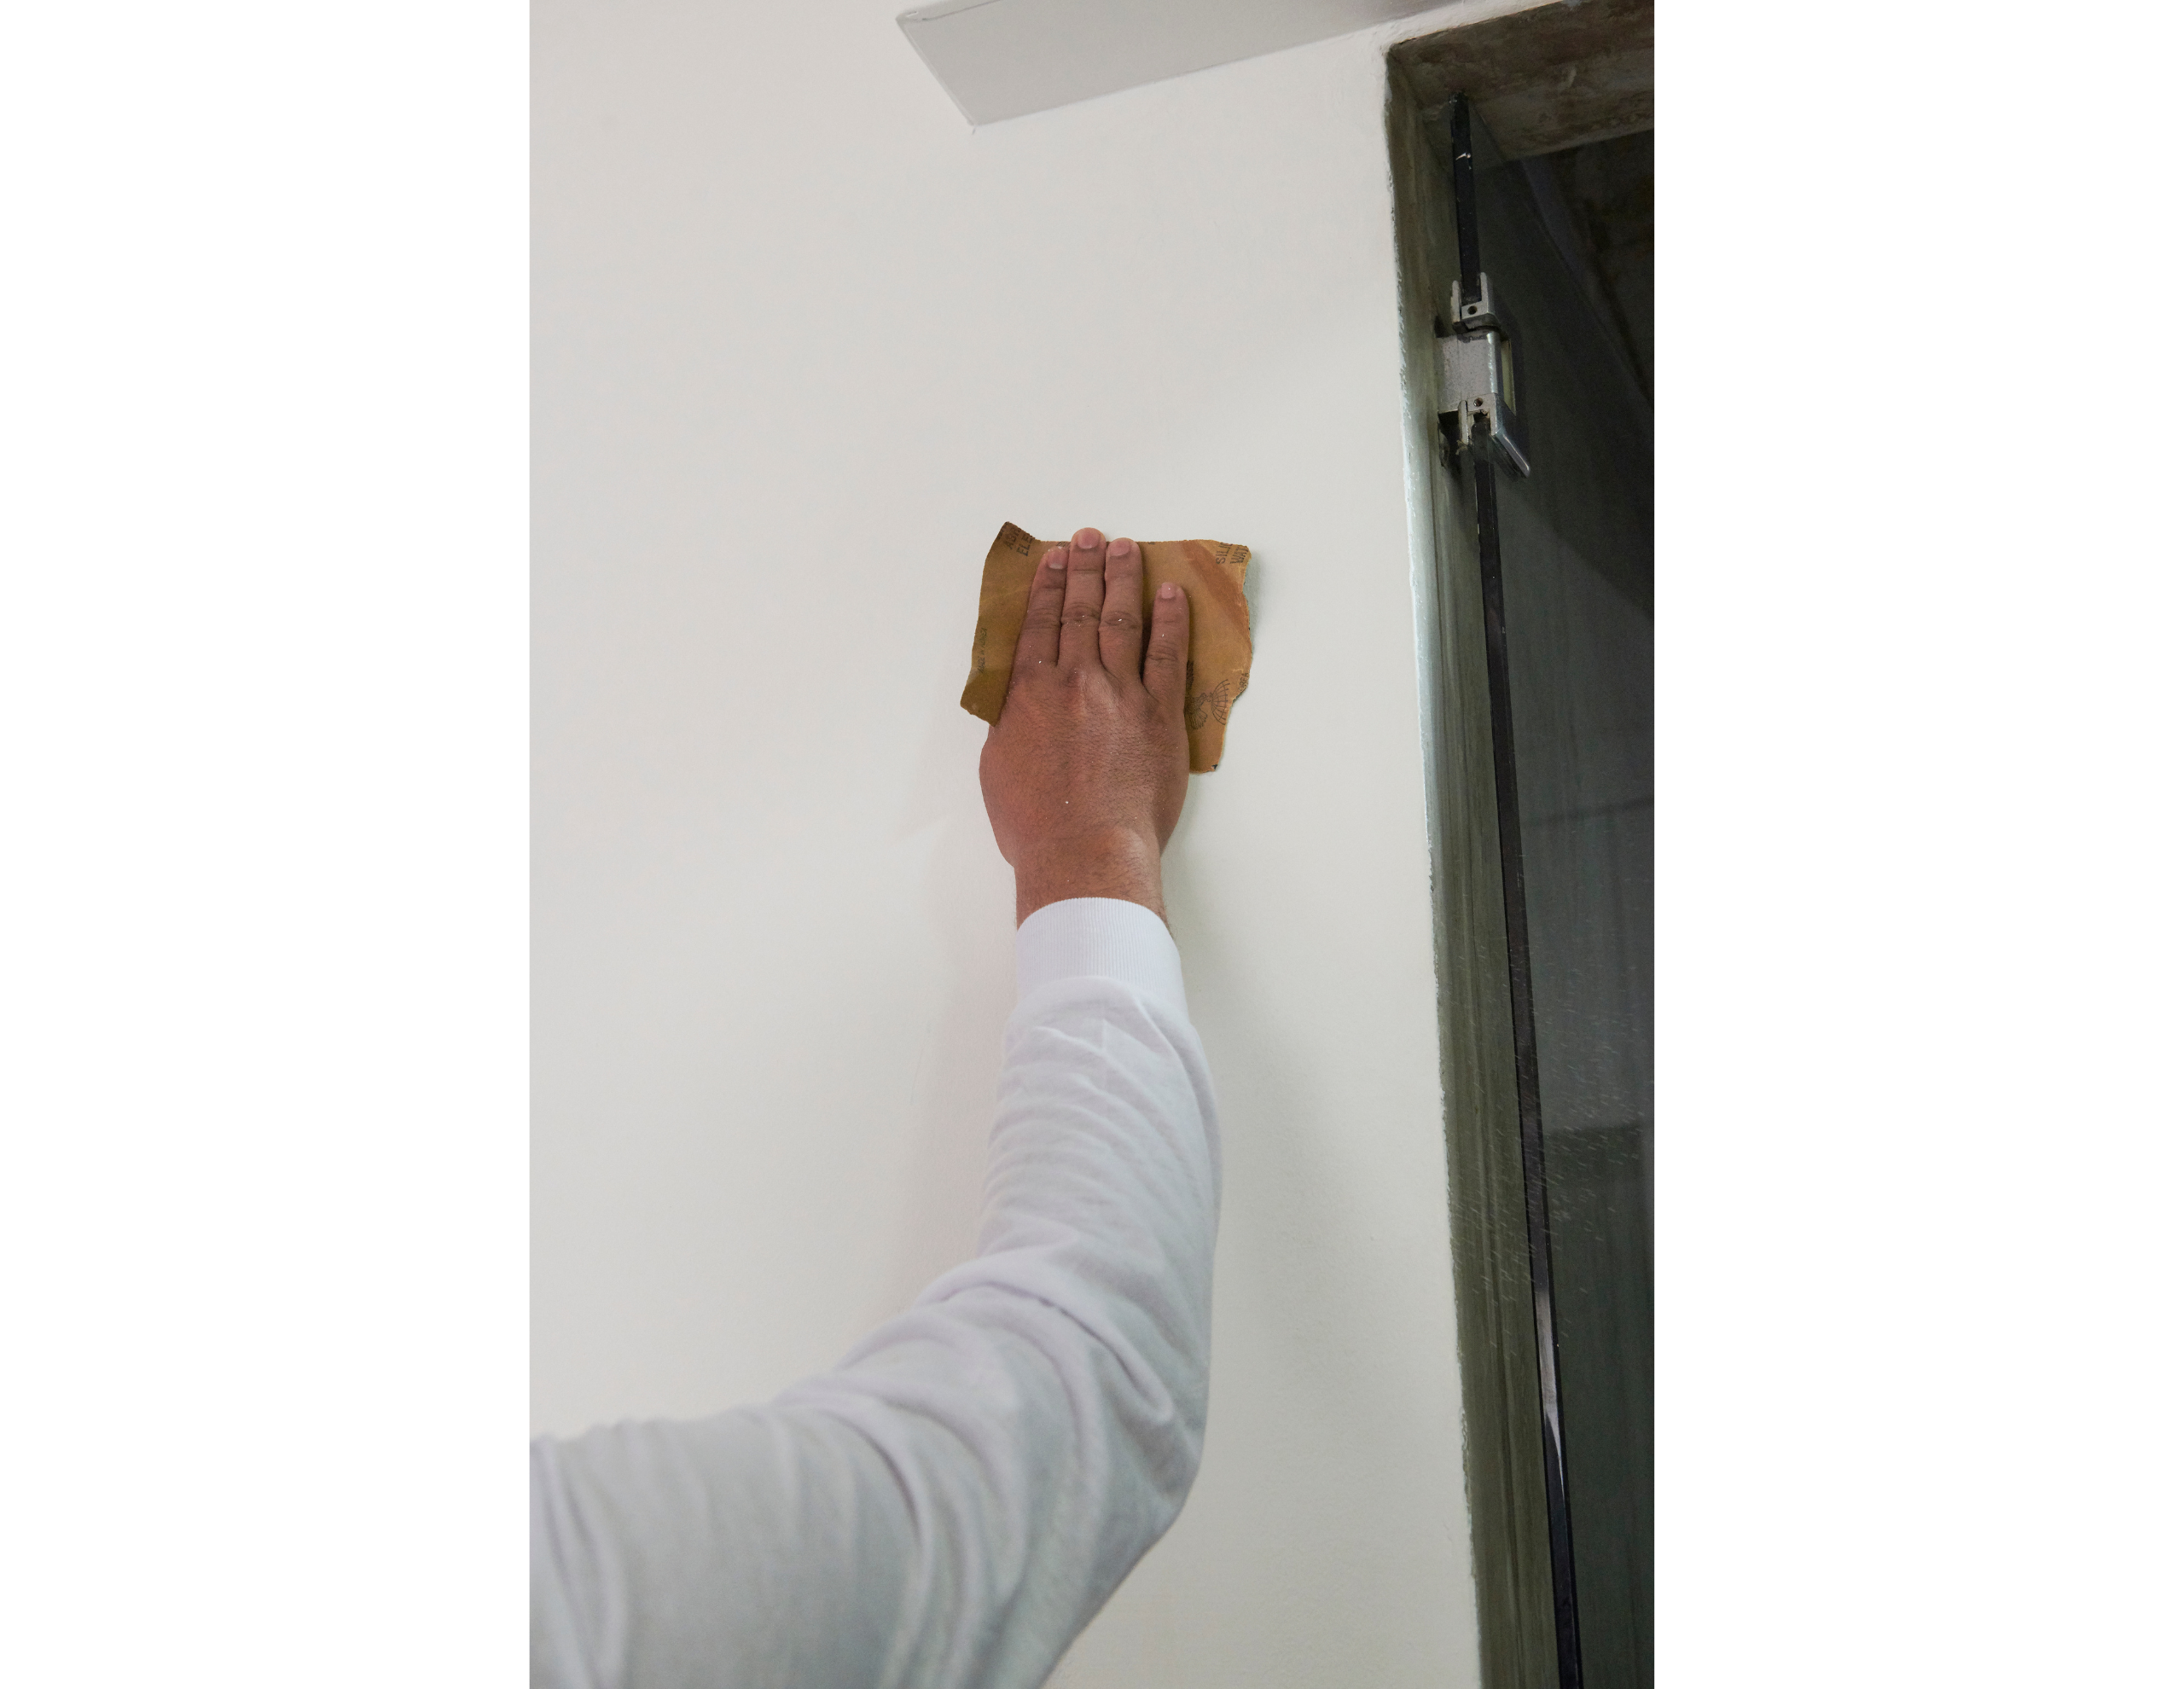
Once the putty is fully dry, sand the repaired area with sandpaper until smooth. This removes any imperfections, feathers the edges of the repair into the surrounding wall, and creates a surface the new paint can grip properly.
Step 5: Clean the wall
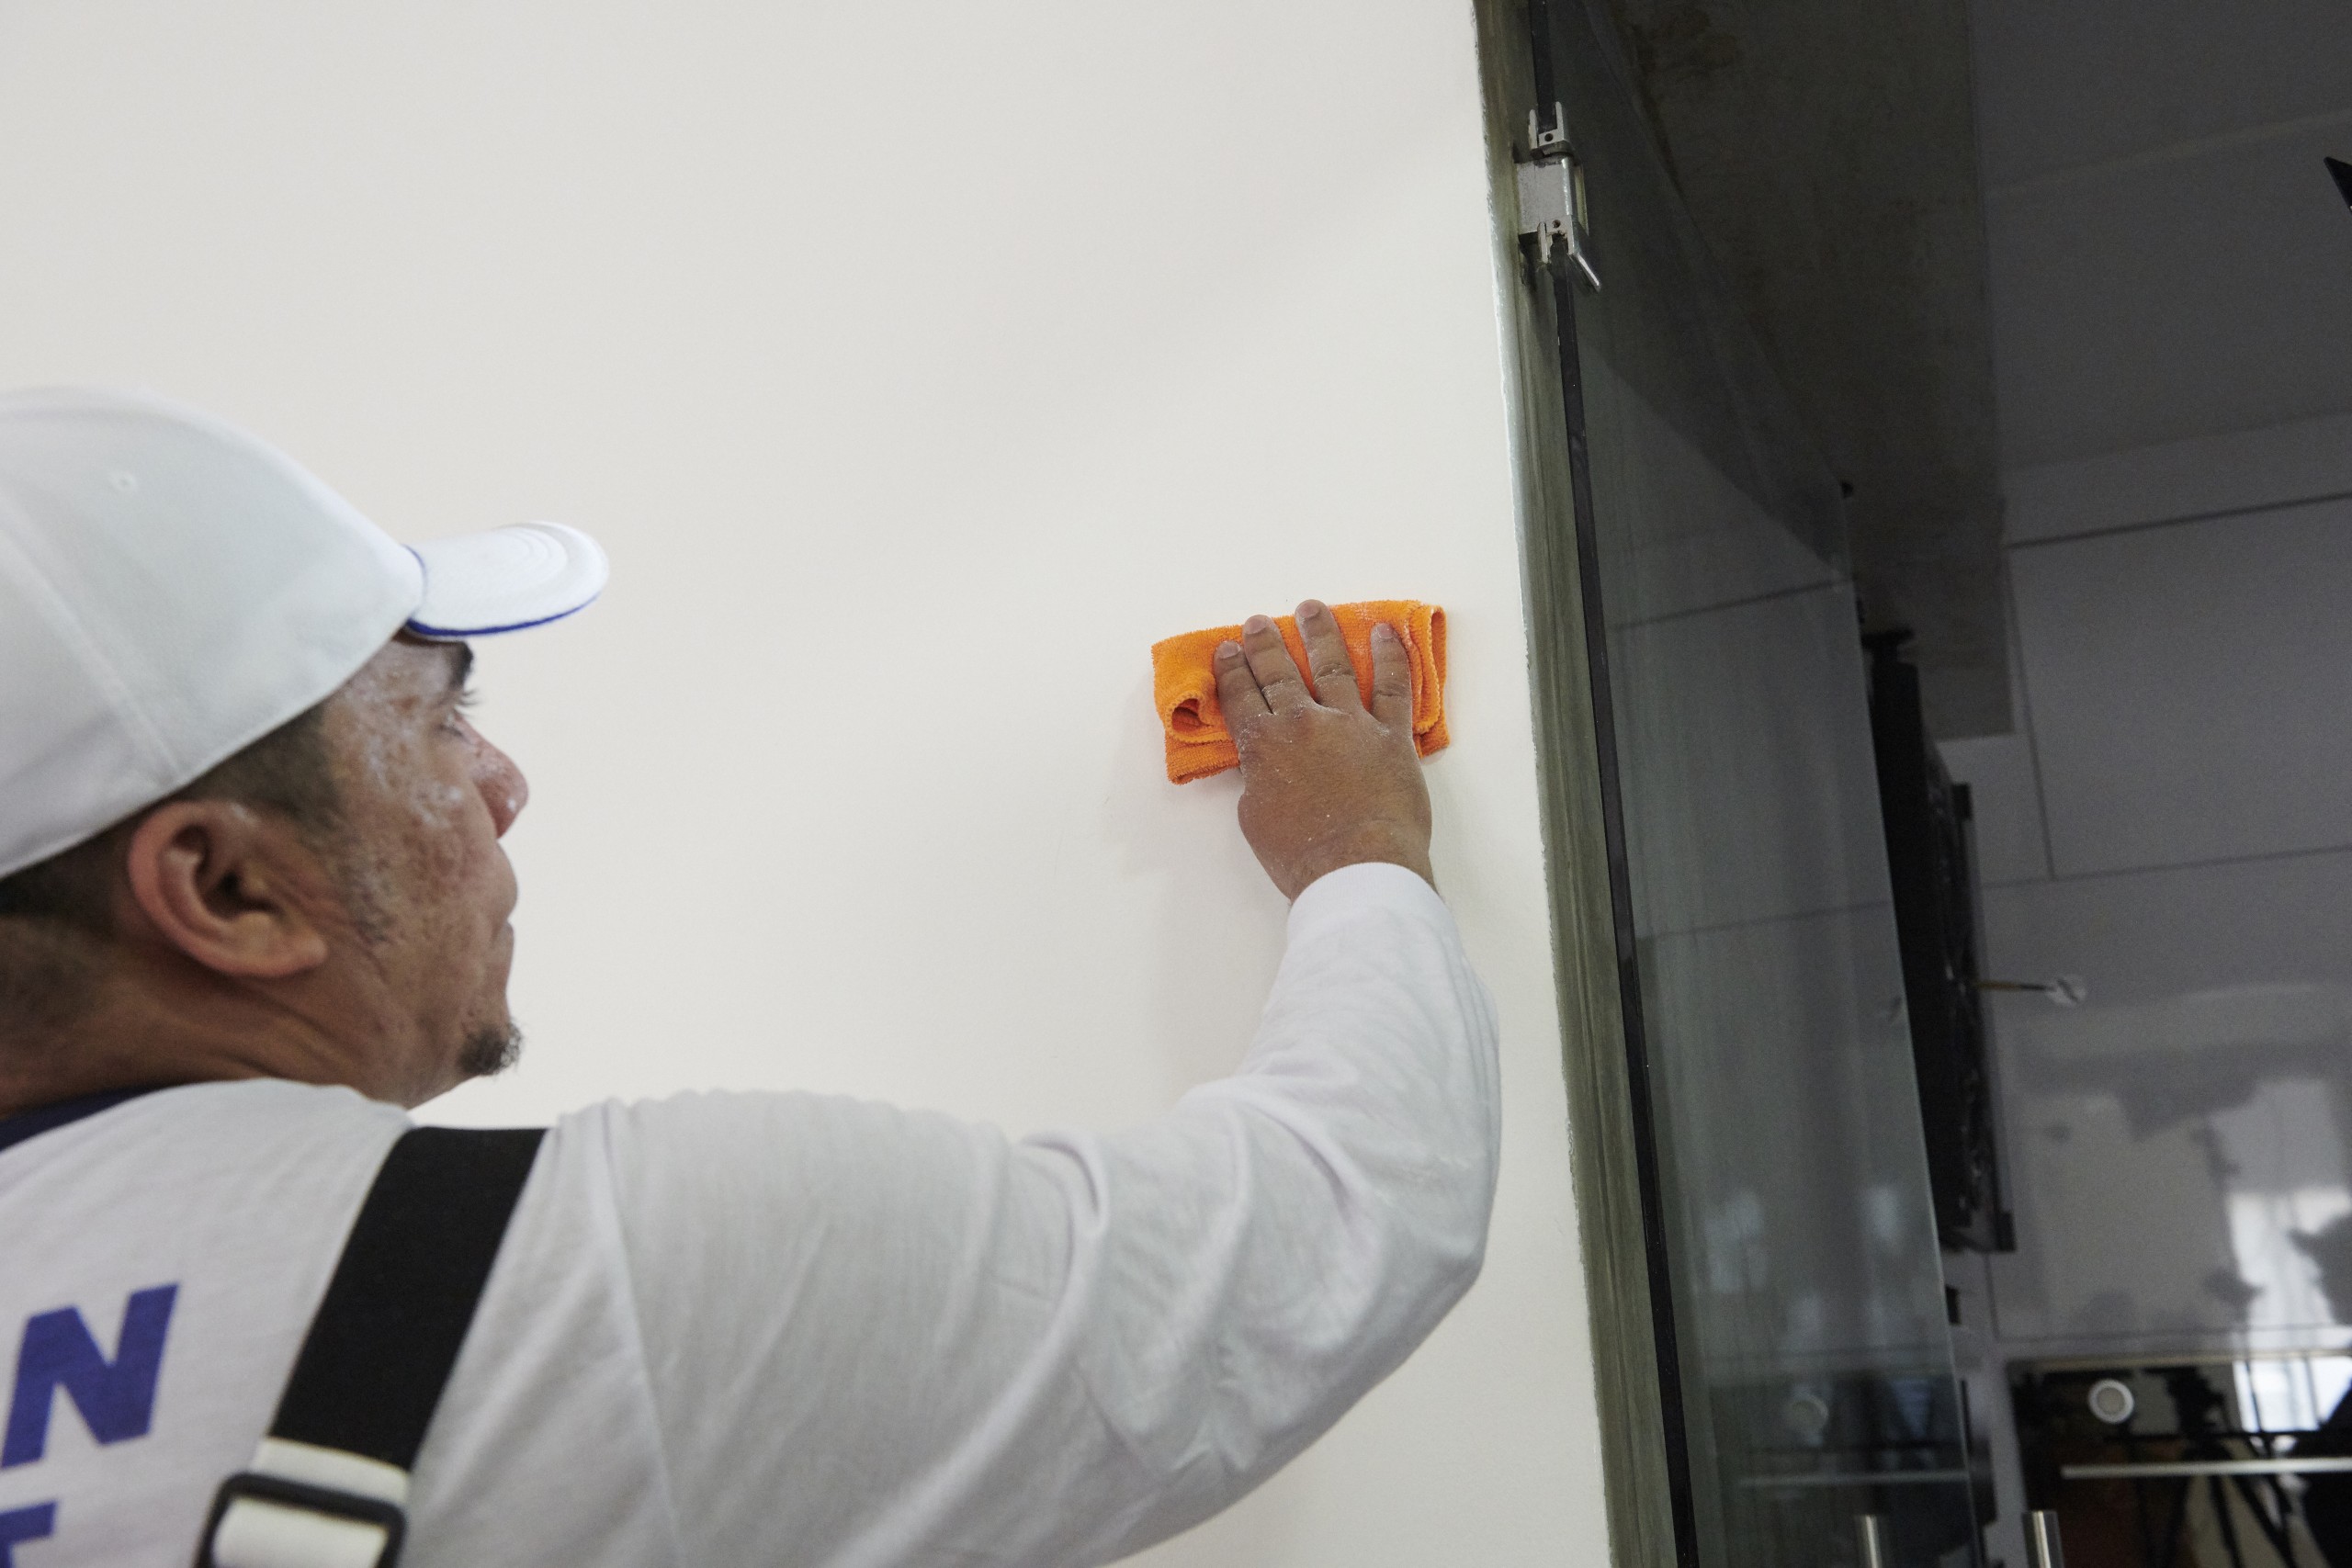
Remove all sanding dust and surface grime with a damp cloth, followed by a dry microfibre cloth. A clean surface is essential for good paint adhesion. If the wall shows signs of chalking (a powdery residue when you wipe your hand across it), apply a coat of No More Chalk to seal the surface before priming.
Step 6: Prime the wall
Priming is a critical step that should never be skipped. The right sealer or primer creates a stable base for your topcoat and significantly reduces the risk of future peeling. Choose the appropriate Nippon Paint primer for your surface type:
| Product | Suitable For |
|---|---|
| Odour-less Ultra 5102 Sealer | Interior and exterior masonry surfaces; stronger alkali and moisture resistance |
| Vinilex 5170 Wall Sealer | Cement plaster, brickwork, hard/soft boards, gypsum and concrete |
| Aqua Primer Sealer Undercoat | Masonry walls, ceilings, wood, metal and plastic |
| Expresskote Sealer | New and old cement-rendered surfaces |
| Bodelac 9000 Undercoat | Timber and metal surfaces |
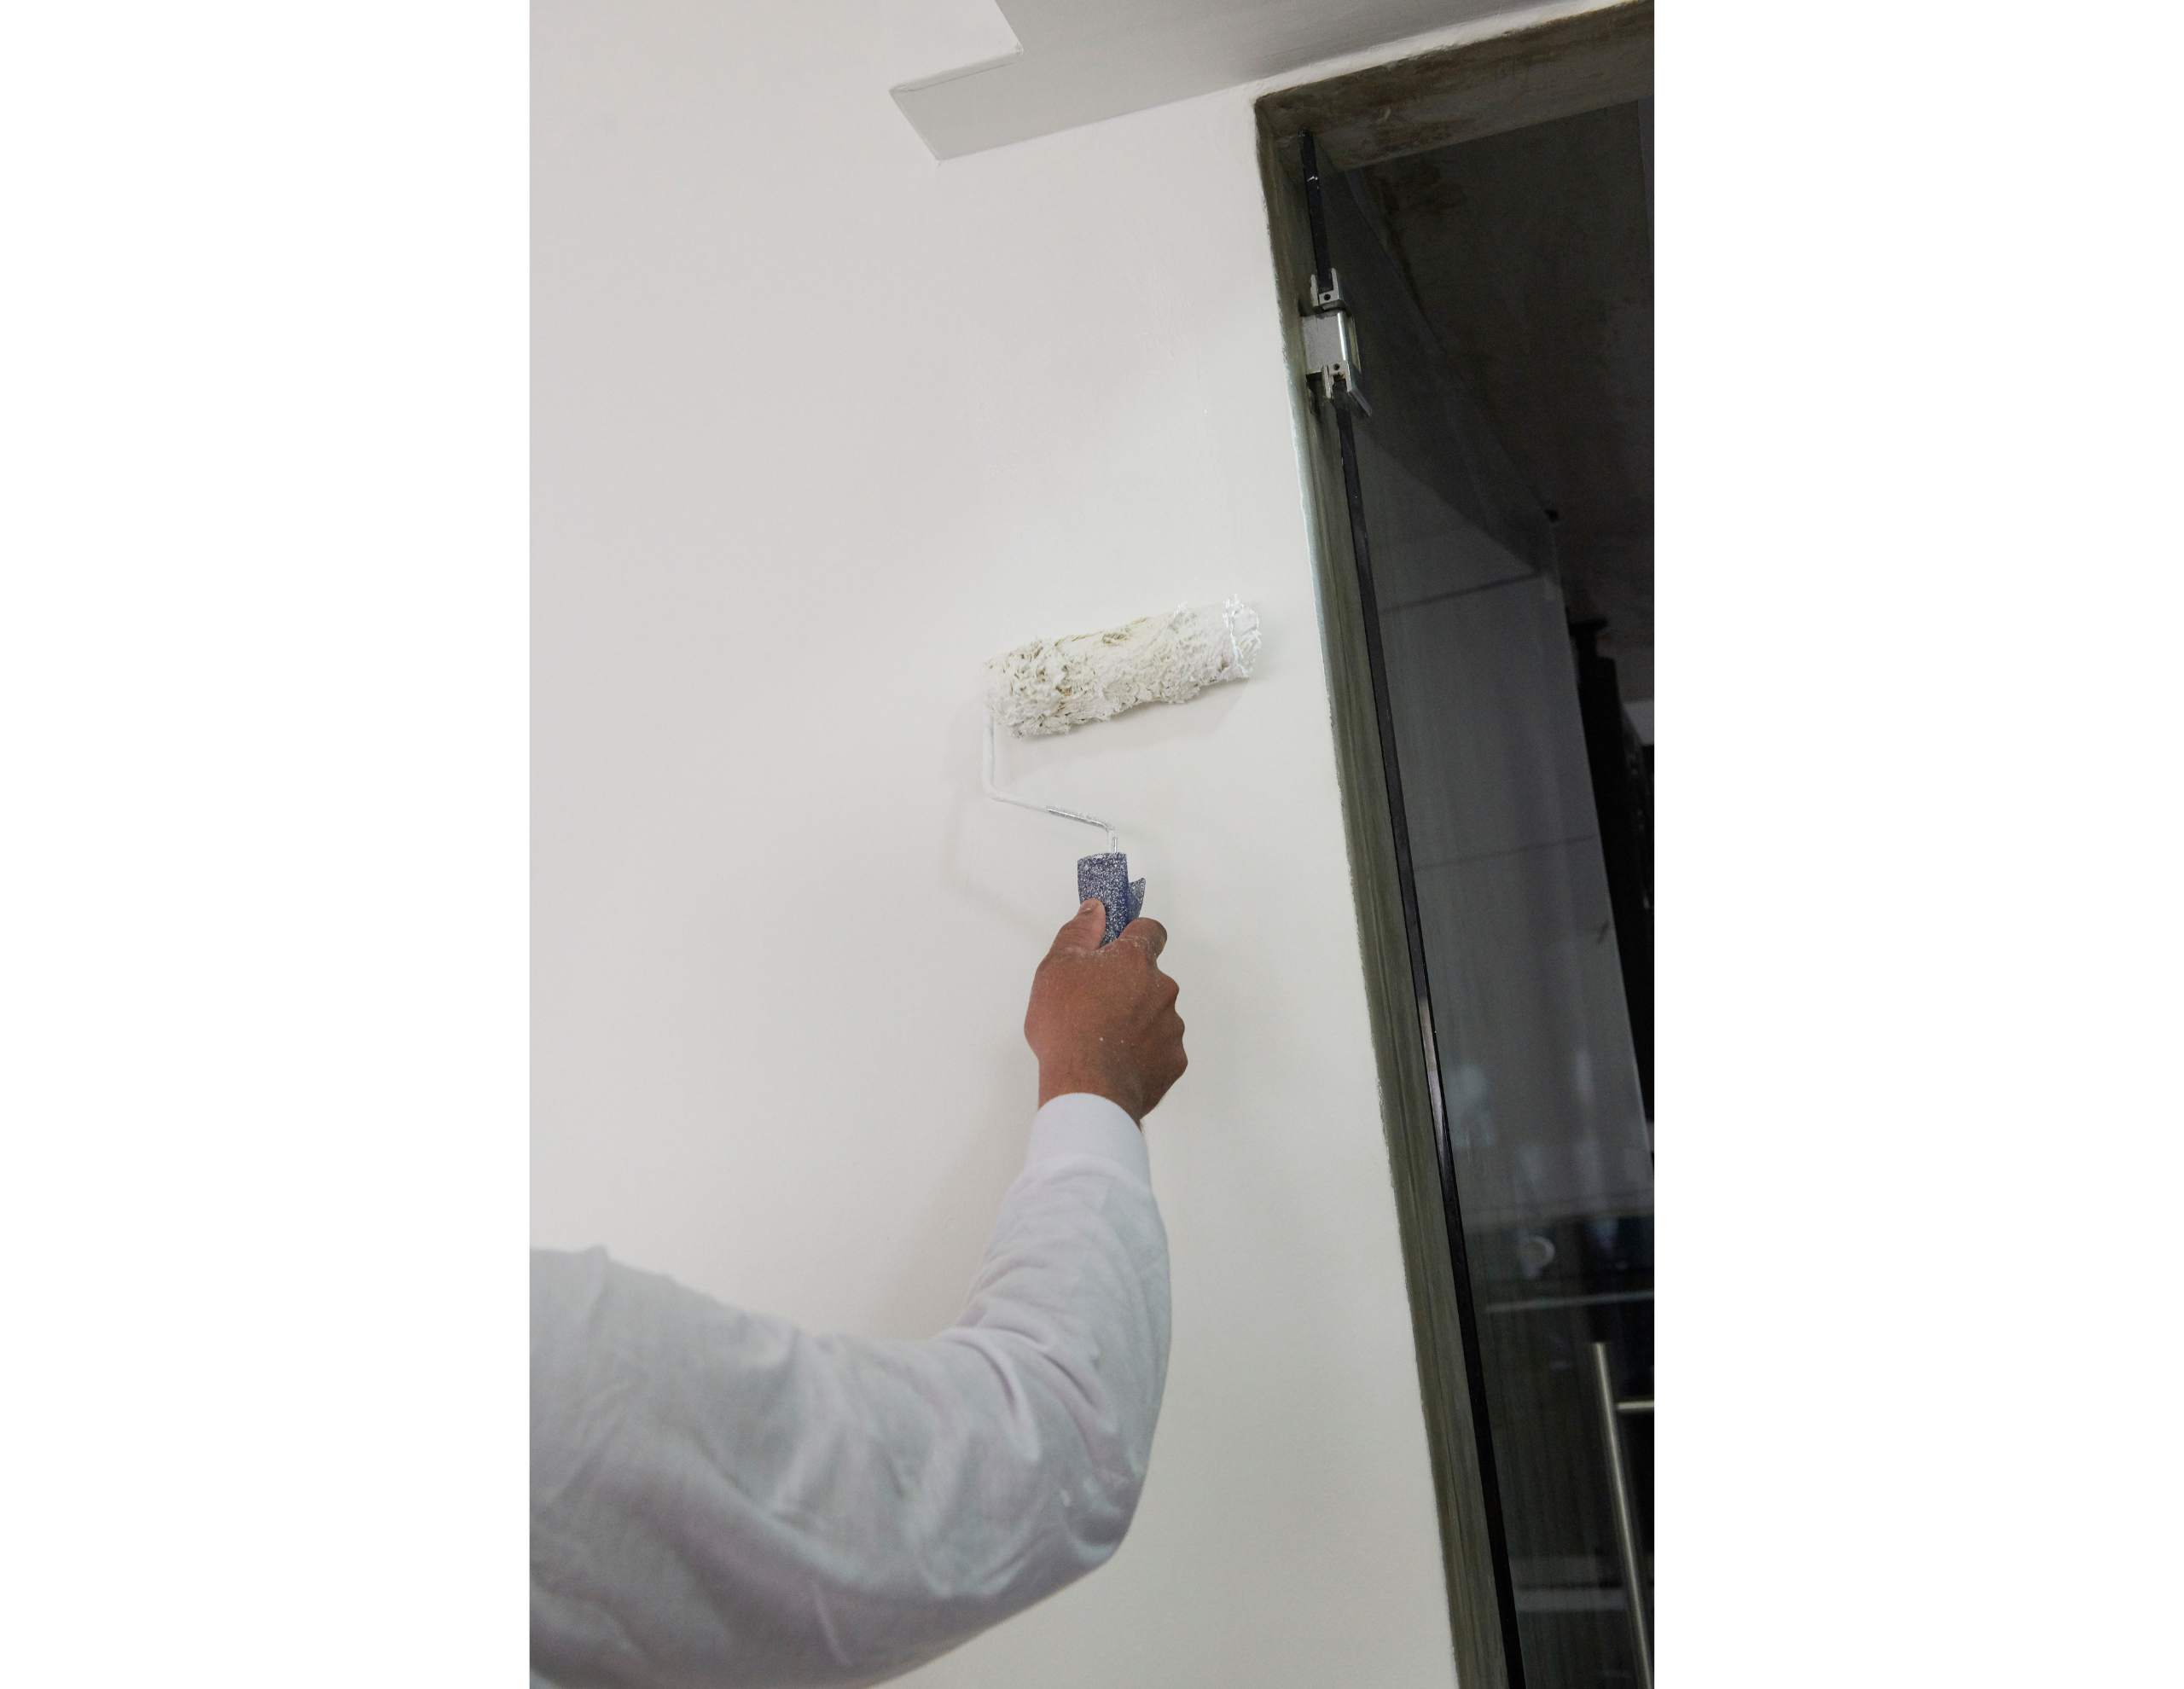
Step 7: Paint the area
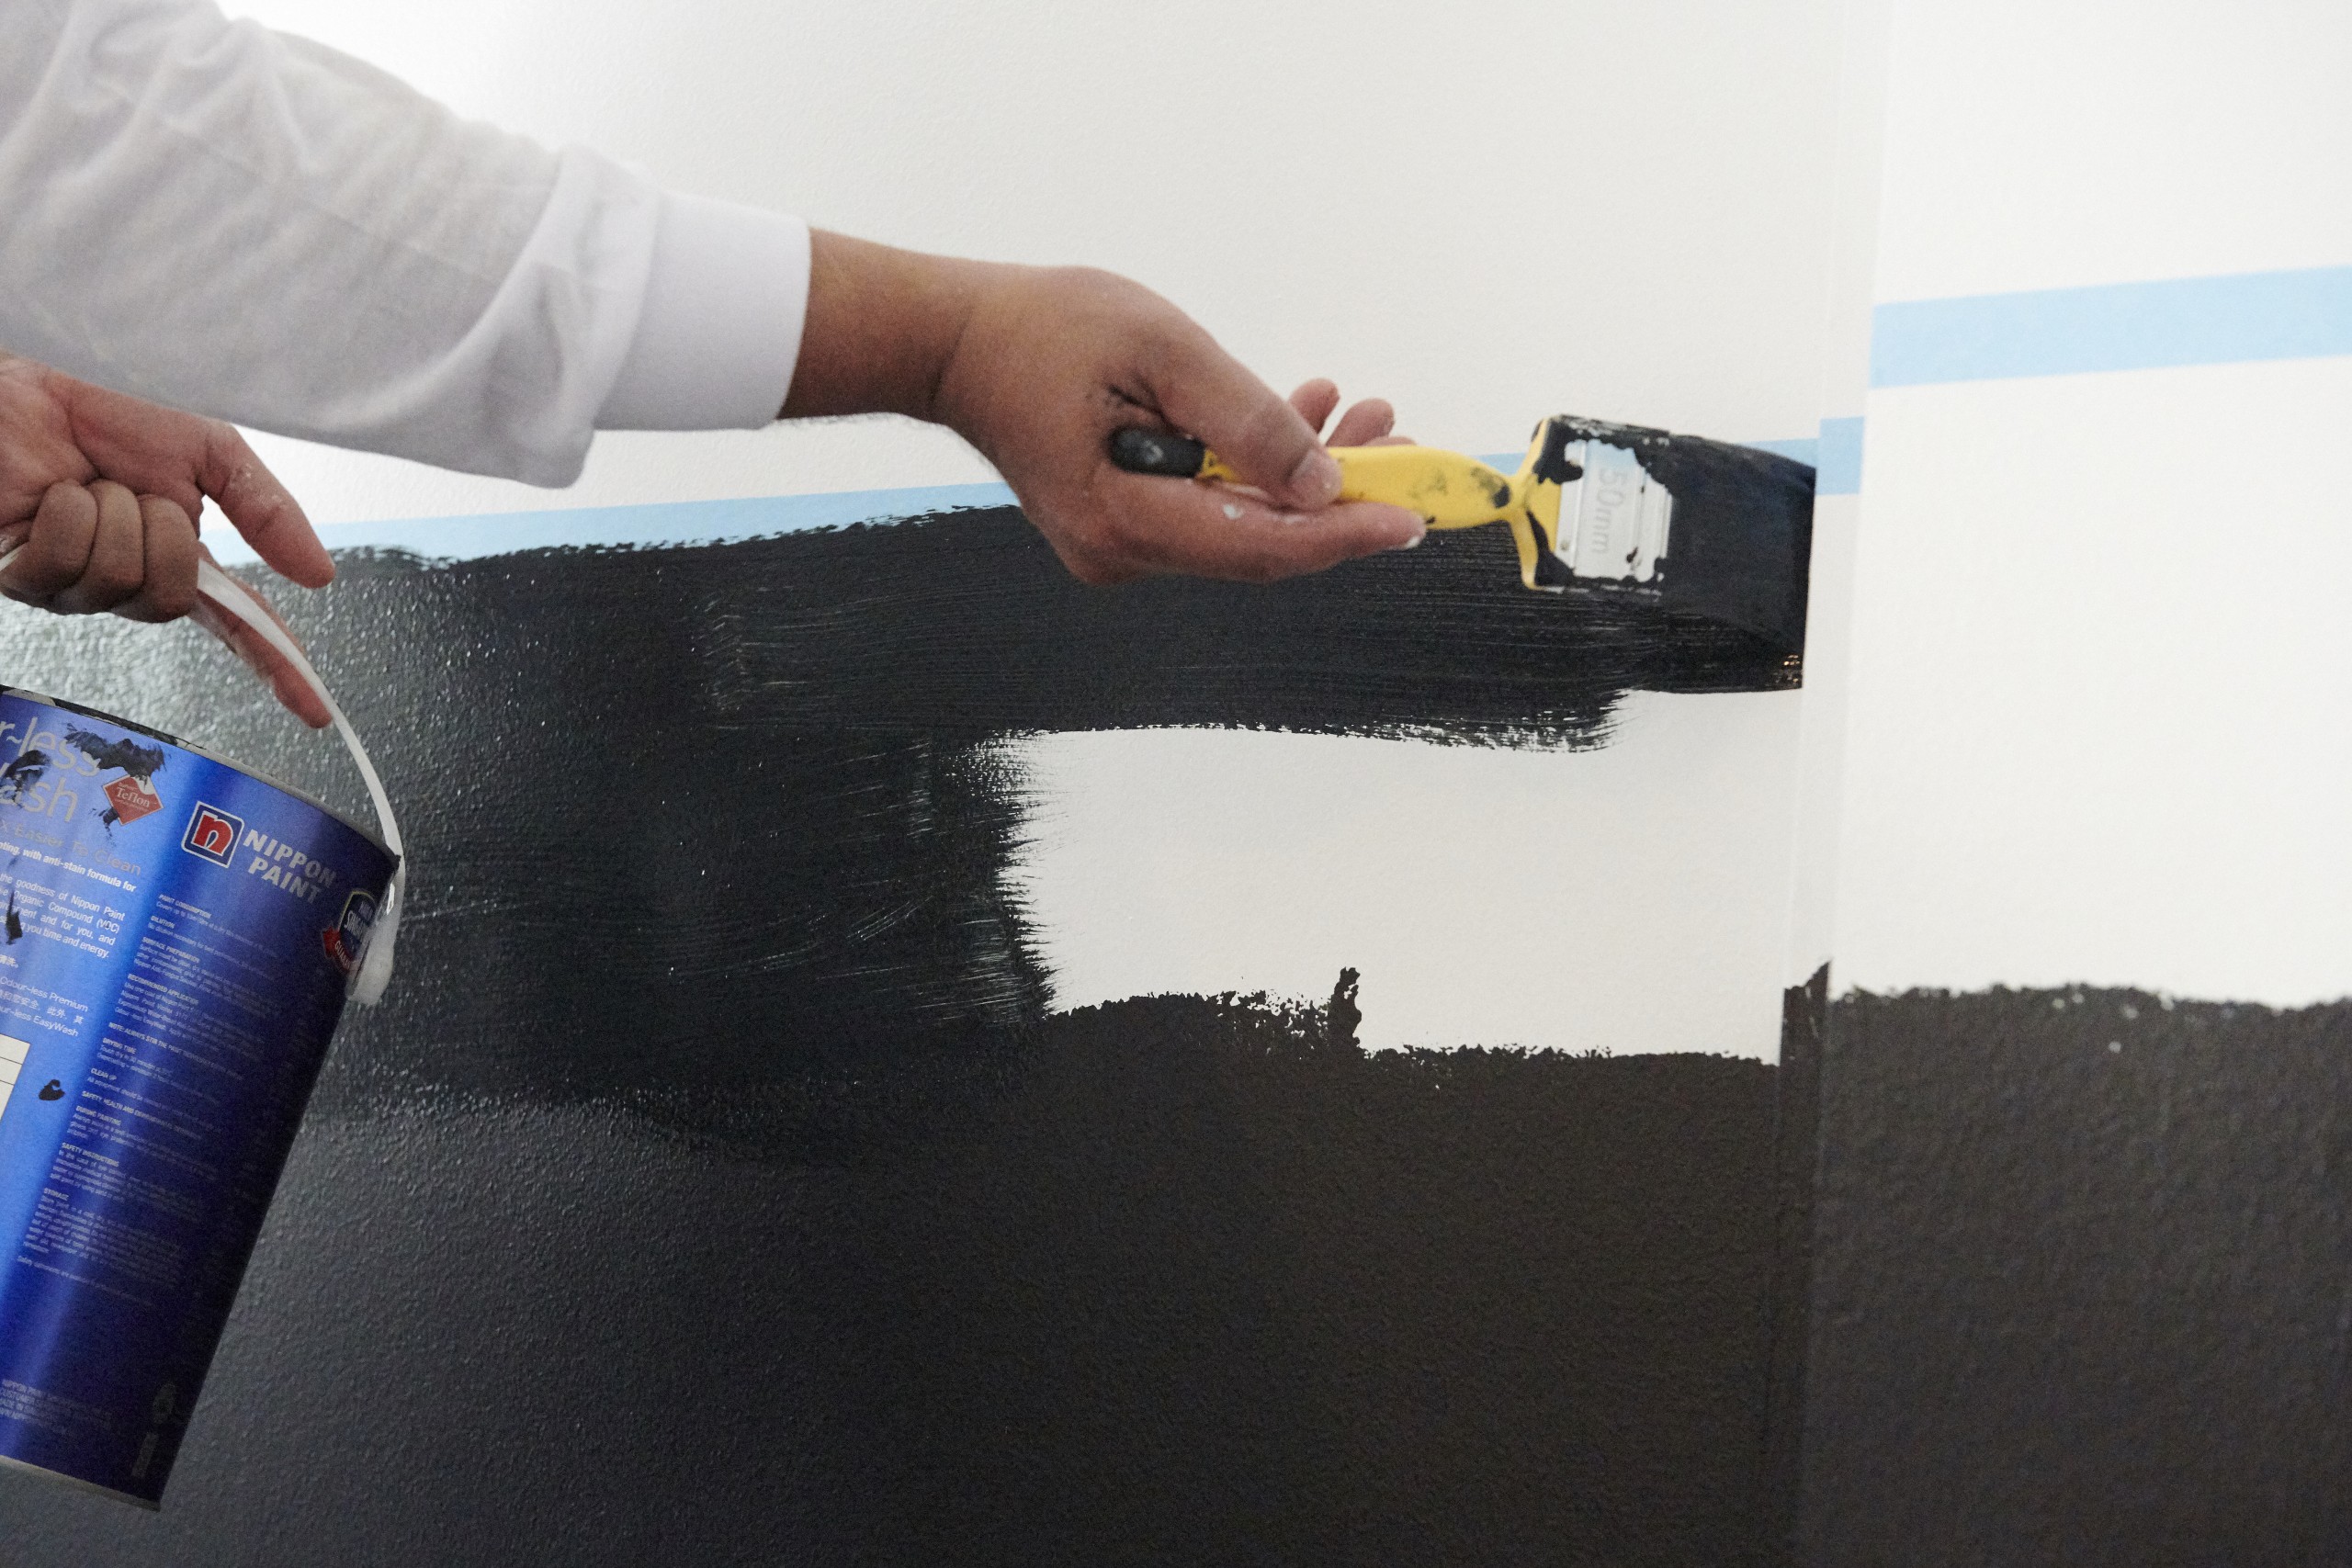
Once the primer is fully dry, apply your chosen topcoat evenly using a paint brush or roller. Use a high-quality paint suited to your surface material — this will give you the best finish and the longest-lasting result.
How to Prevent Paint From Peeling Again
Repairing peeling paint is only half the battle. Here's how to protect your walls going forward.
Ensure Proper Surface Preparation
The single most effective way to prevent peeling paint is thorough surface preparation before every paint job. Clean, dry, and properly primed surfaces give paint the best possible foundation to adhere to. If you'd rather not take this on yourself, a professional painting service will ensure the prep work is done to the right standard.
Manage Humidity
High humidity levels is one of the factors that causes paint to peel. There are several ways to manage it, including:
- Sealing any leaks in your roof, walls or plumbing that can cause water damage
- Using a dehumidifier to absorb moisture
-
Ventilating wet areas such as bathrooms and kitchen by using an exhaust fan or opening the windows
Inspect Walls Regularly
Make a habit of checking your walls every few months for early signs of bubbling, cracking, or peeling. Catching problems early means smaller repairs — and lower costs.
Use the Right Products
Always match your paint to the surface you're painting. Using a product specifically formulated for your wall type ensures optimal adhesion, durability, and resistance to peeling over time.
FAQs About Peeling Paint
How long does paint last before peeling?
Quality interior paint typically lasts 5 to 10 years before showing signs of wear, while exterior paint generally lasts around 5 to 7 years. These figures can vary significantly depending on surface preparation, paint quality, and ongoing maintenance. A properly prepped and well-maintained paint job can easily outlast the average.
Should I remove flaking paint?
Yes — and promptly. Flaking paint is not only unsightly, it can pose a hazard in households with young children who may pick up and swallow paint chips. Left untreated, peeling paint tends to spread, making the eventual repair more time-consuming and costly.
Can I paint over chipped paint?
This is not recommended. Chipped paint is a sign of poor adhesion — painting over it without addressing the underlying cause will result in the fresh coat peeling off prematurely as well. The right approach is to remove the flaking paint, repair the surface, prime it properly, and then repaint for a finish that will actually last.
Related to